
Install the navable Widget in WordPress: Step by Step
The navable WordPress plugin connects your website to the external widget service. You need a navable account and a registered domain alongside the plugin. This guide walks you through setup and checking whether the widget loads on your site.
Installing the plugin alone does not demonstrate WCAG conformance. Plan to test your content, forms and navigation too. The WCAG hub explains the requirements and ways to check them.
Before you install
You need access to plugin management on your WordPress website. Check the official plugin page for requirements and compatibility notes for your WordPress version. Try changes on a test copy of your website first where possible.
Follow navable onboarding to register your domain. See pricing for current offers. An option being visible in the WordPress plugin does not mean the corresponding feature is enabled for your domain.
1. Install and activate the plugin
- Log in to your WordPress dashboard.
- Open Plugins → Add New and search for navable Accessibility Widget.
- Click Install Now, then Activate.
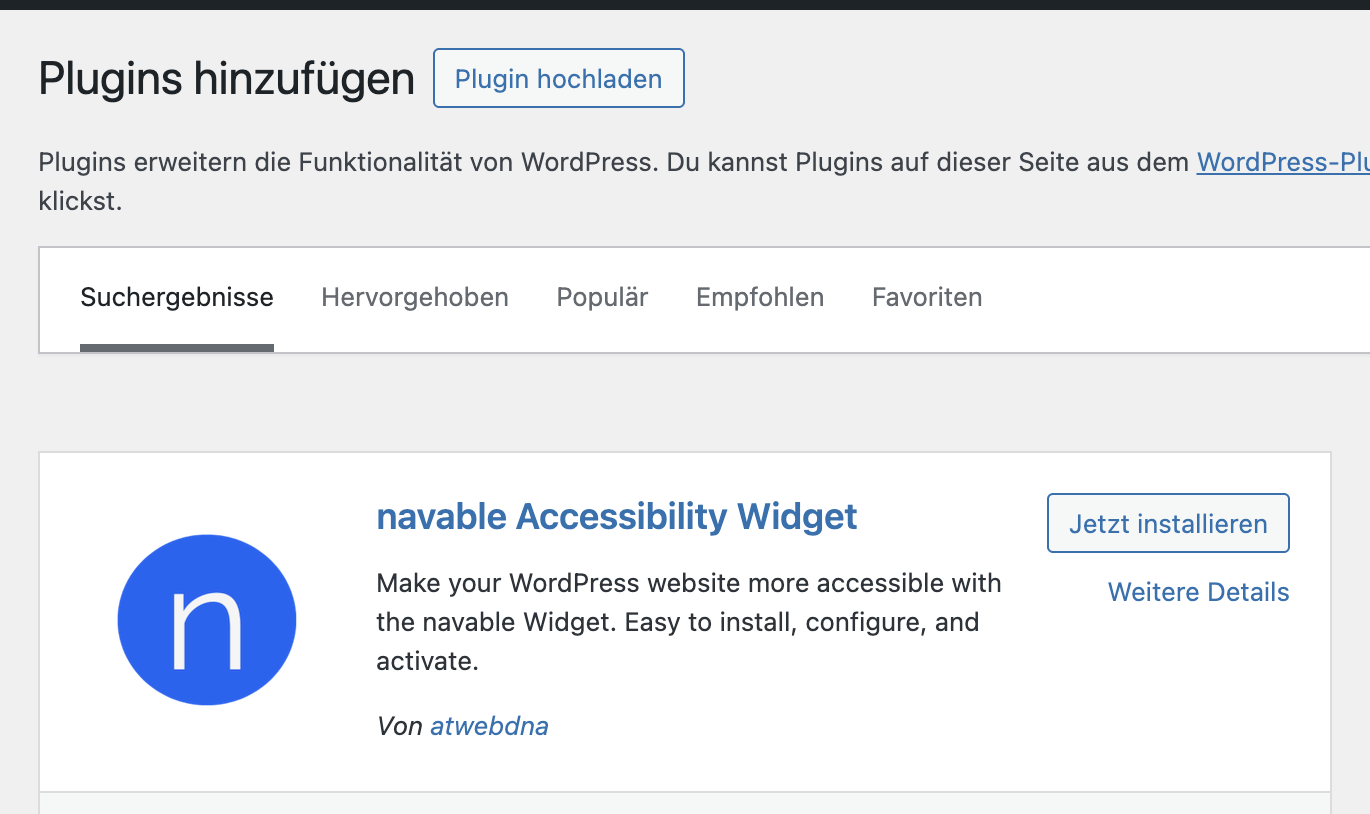
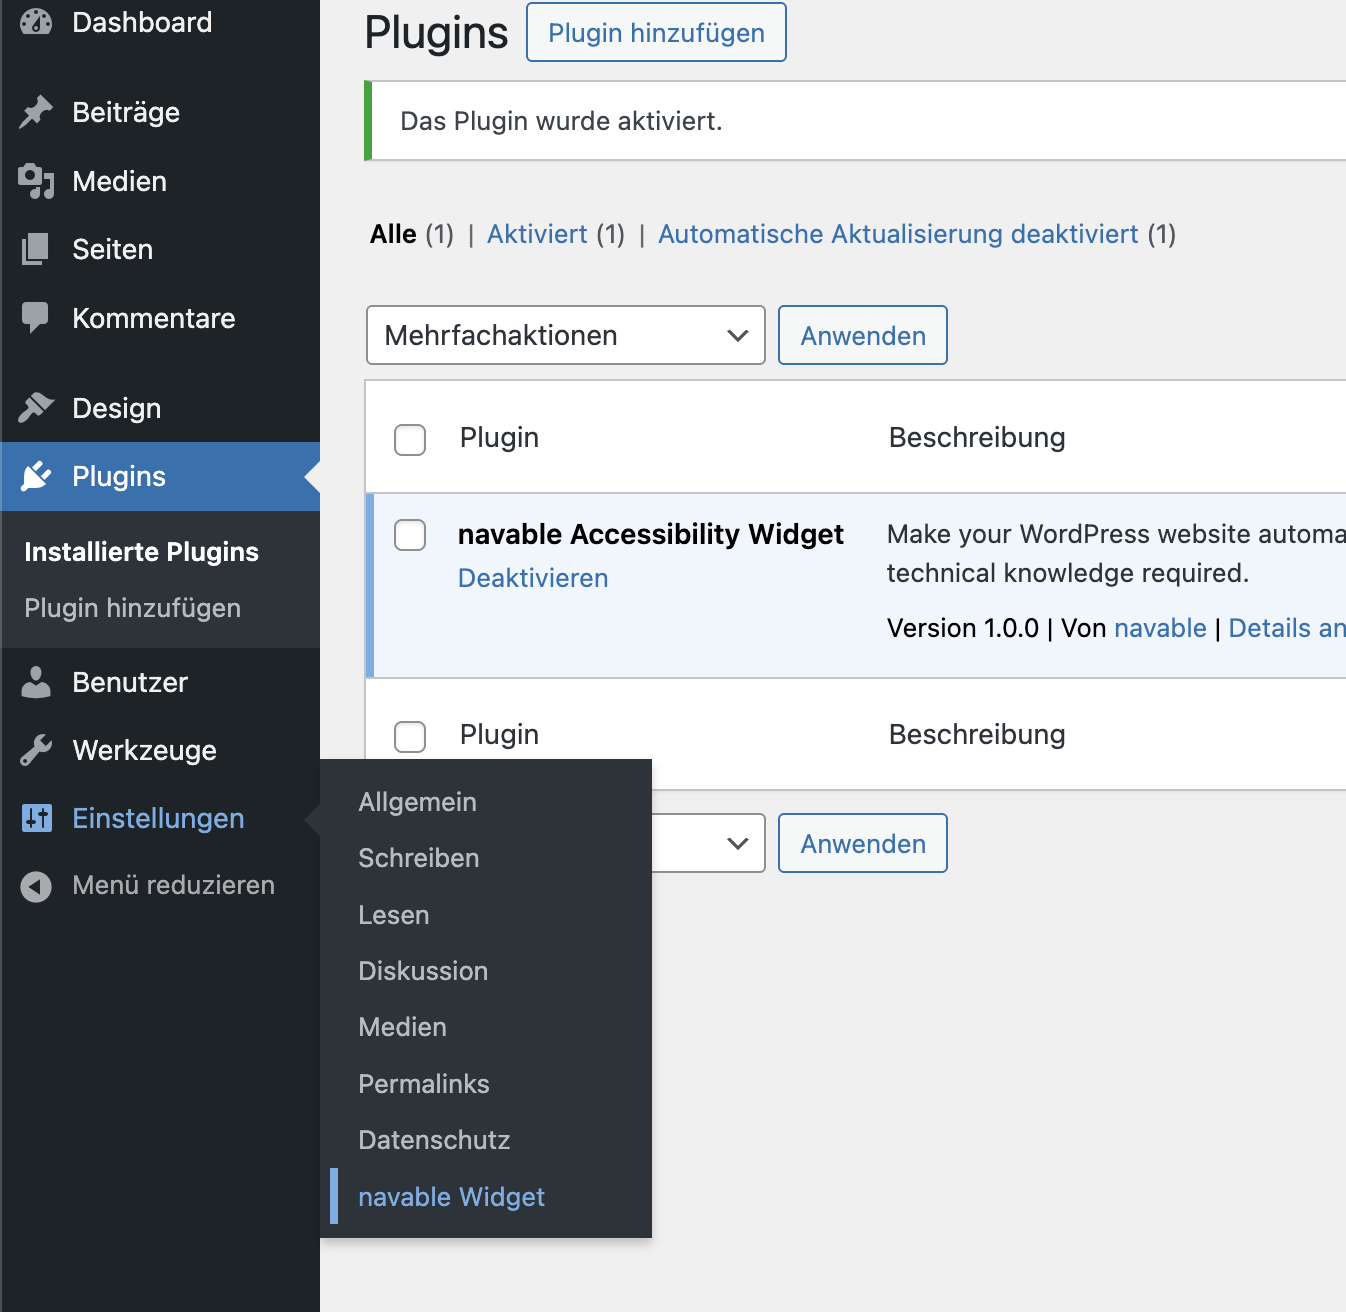
The screenshots come from the earlier guide and show the German interface. Labels may differ with your WordPress or plugin version. The WordPress plugin management documentation also explains the general installation options.
2. Enable the widget and save your settings
Open Settings → navable Widget.
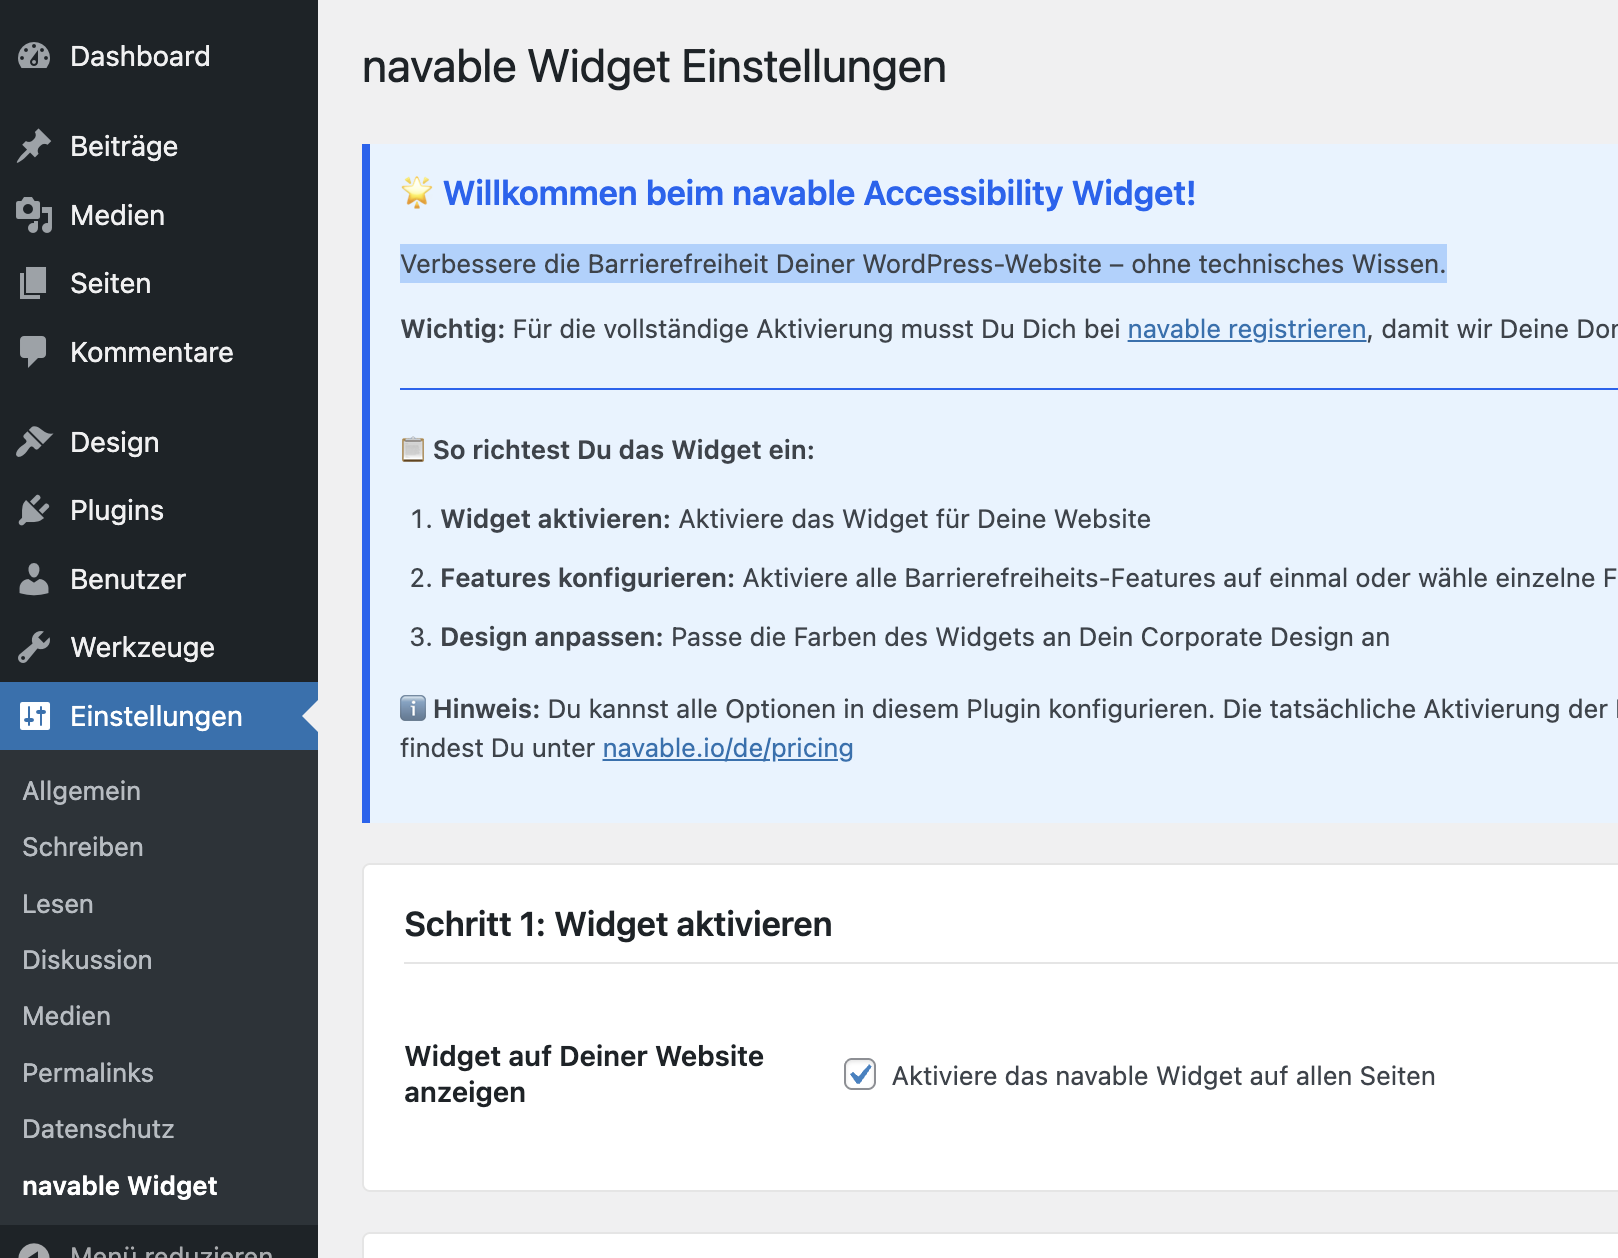
Select the checkbox to display the widget on all pages. In the German interface it reads Aktiviere das navable Widget auf allen Seiten. Choose the options you want and click Save Settings at the bottom.
The plugin passes your choices to the widget service. The published plugin source, for example, includes configuration values for keyboard navigation and contrast. Those values do not establish what changes the service makes on your particular page. Check each setting you use on your website.
Fix problems with labels, focus order and contrast in your content, theme or components as well. The W3C explanation of focus order describes why tab order needs to preserve meaning and operation. Adding tab indices is not a general solution.
3. Register your domain and open your website
Register your website in the navable dashboard and complete the domain verification steps shown there. Compare the registered domain with the address you actually use to open the website. Check a test domain separately before expecting the same activation there.
Next, open a public page on your website. Check an inner page and a page with a form too. Confirm that the widget loads and your chosen settings work as intended on those pages.
If the widget does not appear
Check the integration in this order:
- Plugin and widget switch: Is the plugin active, and did you save the checkbox to display the widget? The plugin code only outputs the widget script when that saved switch is enabled.
- Page source: Search for
navable-widget-embed-script. If it is missing, check the saved setting and whether your theme calls the WordPresswp_footerhook. The plugin attaches its output to that hook. - External script request: If the entry is present, use the browser developer tools’ Network panel to check whether the request to
https://api.navable.io/widget/v1/accessibilitysucceeds. Record an error status for support. Also check whether a security or consent setting blocks the script. - Domain and activation: Check the domain in the navable dashboard. A script element confirms that WordPress added the integration, but does not establish whether the service provides the feature you want.
When requesting support, include the affected URL, your WordPress and plugin versions, and the error you observed. Remove credentials and personal data from screenshots or network logs.
Check how the page works after setup
Compare the page with the widget enabled and disabled. Open the menu, fill in a form and trigger a validation error. Use the keyboard to check that you can reach the controls you need, see the focus and leave dialogs. Include states that appear after an interaction.
Check text against its background when you change colors. The W3C explanation of text contrast covers the requirements and exceptions. Enabling a contrast setting does not replace checking the affected page.
Use navable Audit for additional machine-evaluable findings. Record the pages and states you checked and the questions that still need manual assessment.